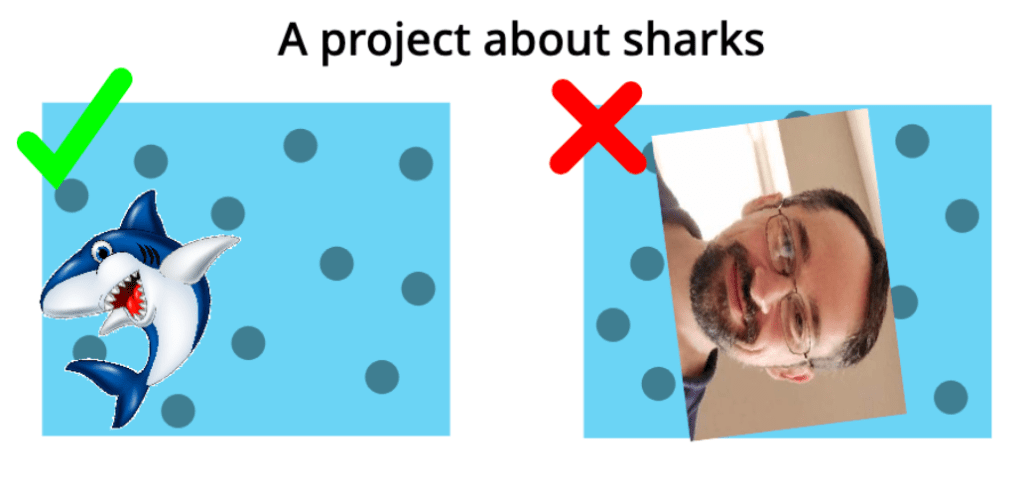
Hello, and today I will be teaching you how to make a good thumbnail! If you don’t know what a thumbnail is, it’s the cover on your project! Here is an example of a good VS. a bad thumbnail.
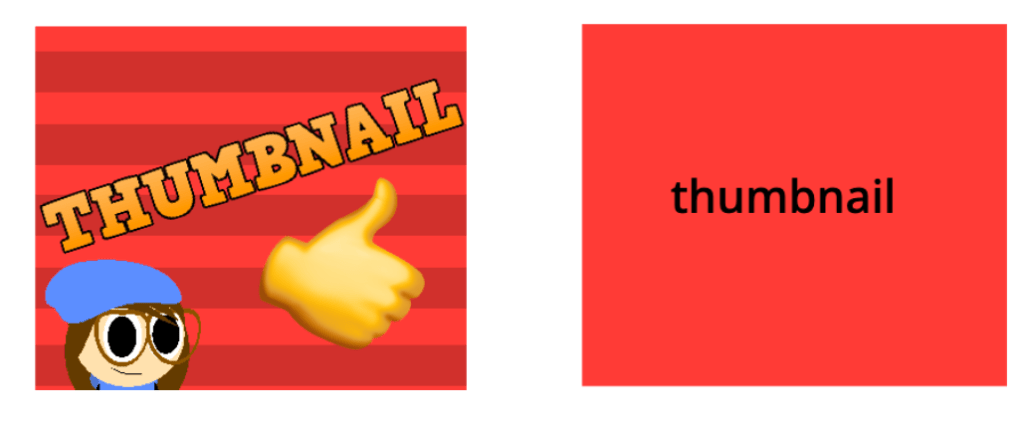
Which of these do you think people would click on more? Yep, that’s right, the first one. I’m going to teach you how to make them like that!
Step 1: Setting it up!
Create a new sprite, and make this script:
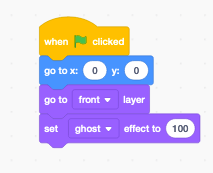
This will make it so when you press the stop button, it will show!
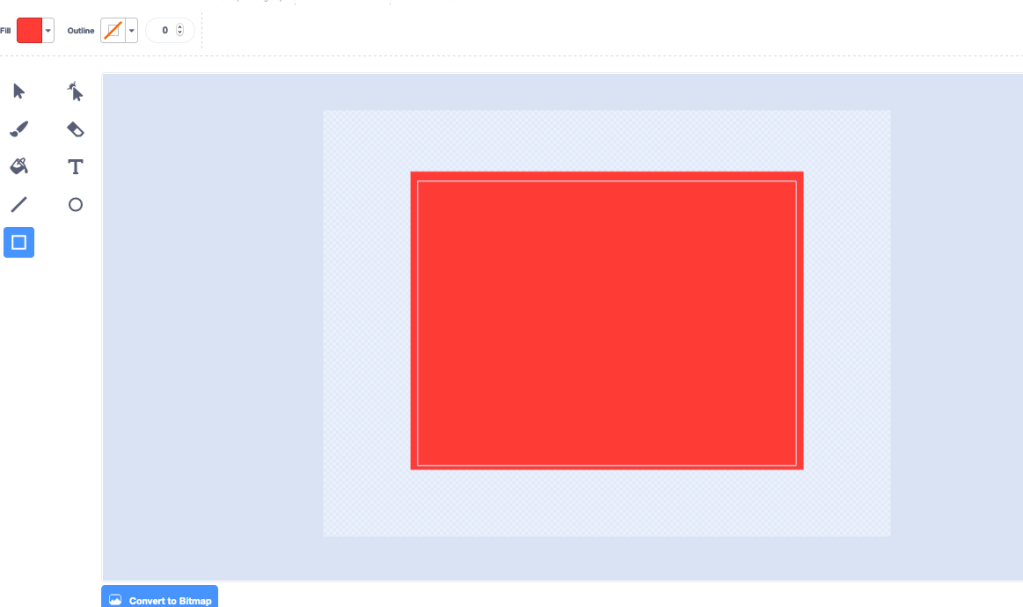
Step 2: The backround!
Now, go into the costume editor on your thumbnail sprite, and make a big square that covers the whole thing! It can be any color you want! This will be the backround color of thumbnail!
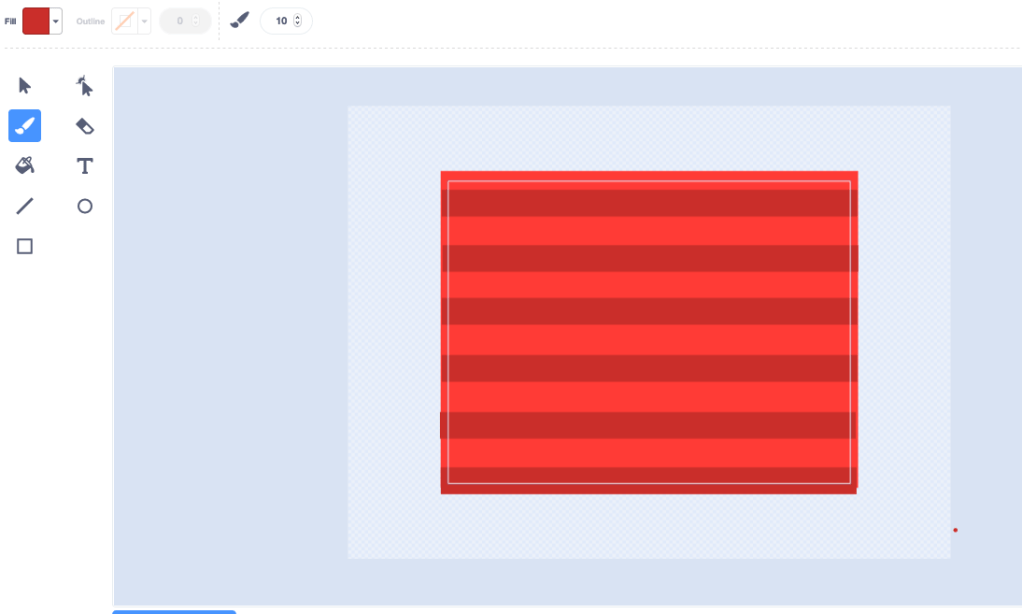
I like to add some designs to it too, like stripes, or polka dots.
Step 3: Add pictures!
You want to give the person looking at your project an idea of what it’s going to be, and you want to make it look intriguing, so they will WANT to click on it. Adding pictures to your thumbnail is the best way to do it! Add a picture related to your project, don’t just put a totally random things!
Add as many pictures as you want, but make sure to leave room for the text!
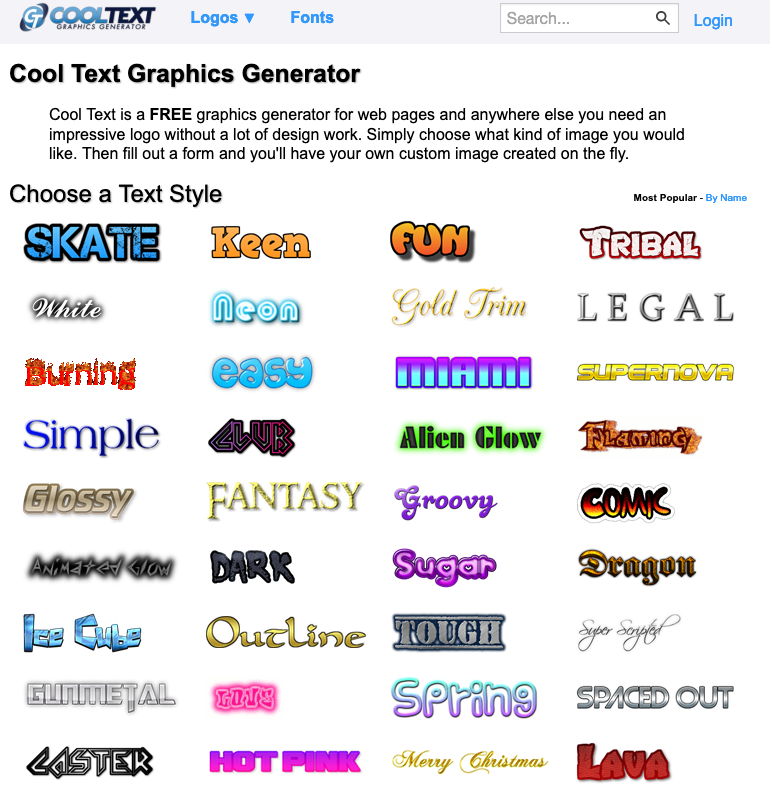
Step 5: The Text!
I get this question A LOT! “How do you get that text on your thumbnails?” Well, here’s the answer to that! There’s this AMAZING website called cooltext.com, and you can get all these fonts for FREE!
After you download your text, just stick it on the thumbnail, and there you have it! A good thumbnail!
If you enjoyed this make sure to subscribe, and join our discord server at: https://discord.gg/GCu5Xf where you can suggest tutorial ideas, and talk to me! Have a good day! bye!

Leave a reply to Sharkyshar Cancel reply